Shopify Website is a leading e-commerce platform that allows businesses to easily set up and manage online stores. With its flexible features and customizable designs, Shopify helps businesses scale and improve customer engagement.
Solidgate provides businesses with seamless payment solutions that enhance customer’s experience and help to grow your business on Shopify. Whether you want to have upsell opportunities or process payments with Solidgate on Shopify, Solidgate ensures secure transactions and smooth order management.
Shopify offsite payments app
Accepting payments on your Shopify store is easy with the Solidgate Payments App.
Before you begin, make sure you have:
- Solidgate account
You have an active account with access to Solidgate Hub . - Processing channels setup
You have your merchant-live and merchant-sandbox channels configured in Solidgate with your website domain set to your Shopify store’s domain.
Integrate
Step 1. Install app
- Follow the Shopify App Store Website link to open the Solidgate app.
- Click on Install.
Your Shopify admin account opens. - Follow the prompts to proceed with the installation.
After installation, connect the app to your Shopify store.
Step 2. Set up app in Hub
- Verify the live and sandbox channels automatically selected by Solidgate.
- Click on Return to Shopify to continue the configuration process.
Step 3. Activate app
- In Shopify, go to Settings > Payments.
- Find Solidgate Payments App.
- Click on Activate and follow the prompts to complete activation.
Once done, processing live transactions or test payments using your sandbox channel becomes available.
You can always find the Solidgate app on Shopify by navigating to Settings > Payments and searching for Solidgate Payments App.
Step 4. Test integration
- In Shopify, go to Settings > Payments.
- Navigate to Solidgate Payments App > Manage.
- Activate Test mode.
- Add products to the cart on your Shopify store where the app is configured.
- Complete checkout to automatically return to the Solidgate Payments App page.
- Verify that transactions from your sandbox channel are processed correctly in Test mode by reviewing orders in the Shopify and Solidgate Hub accounts.
Step 5. Go live
- In Shopify, go to Settings > Payments.
- Navigate to Solidgate Payments App > Manage.
- Deactivate Test mode.
With the Solidgate payment app installed, tested, and activated, you can now accept payments securely from your Shopify store. The transactions are now processed in real time using your merchant-live channel.
Issue refund
To maintain the refund status consistency, a process refunds directly in the Shopify admin account.
If you need assistance with the app integration, contact us .
Handle errors
These are common issues encountered during Shopify integration, along with recommendations to resolve them.
Currency conversion
With third-party payment providers, local currency Reference settings only change how prices are displayed in your store. At checkout, Shopify converts the amount to your store’s default currency, and the customer is charged in that currency.
To avoid this conversion and charge customers in their local currency, you need to create separate stores, one for each currency.
Shopify upsell flow
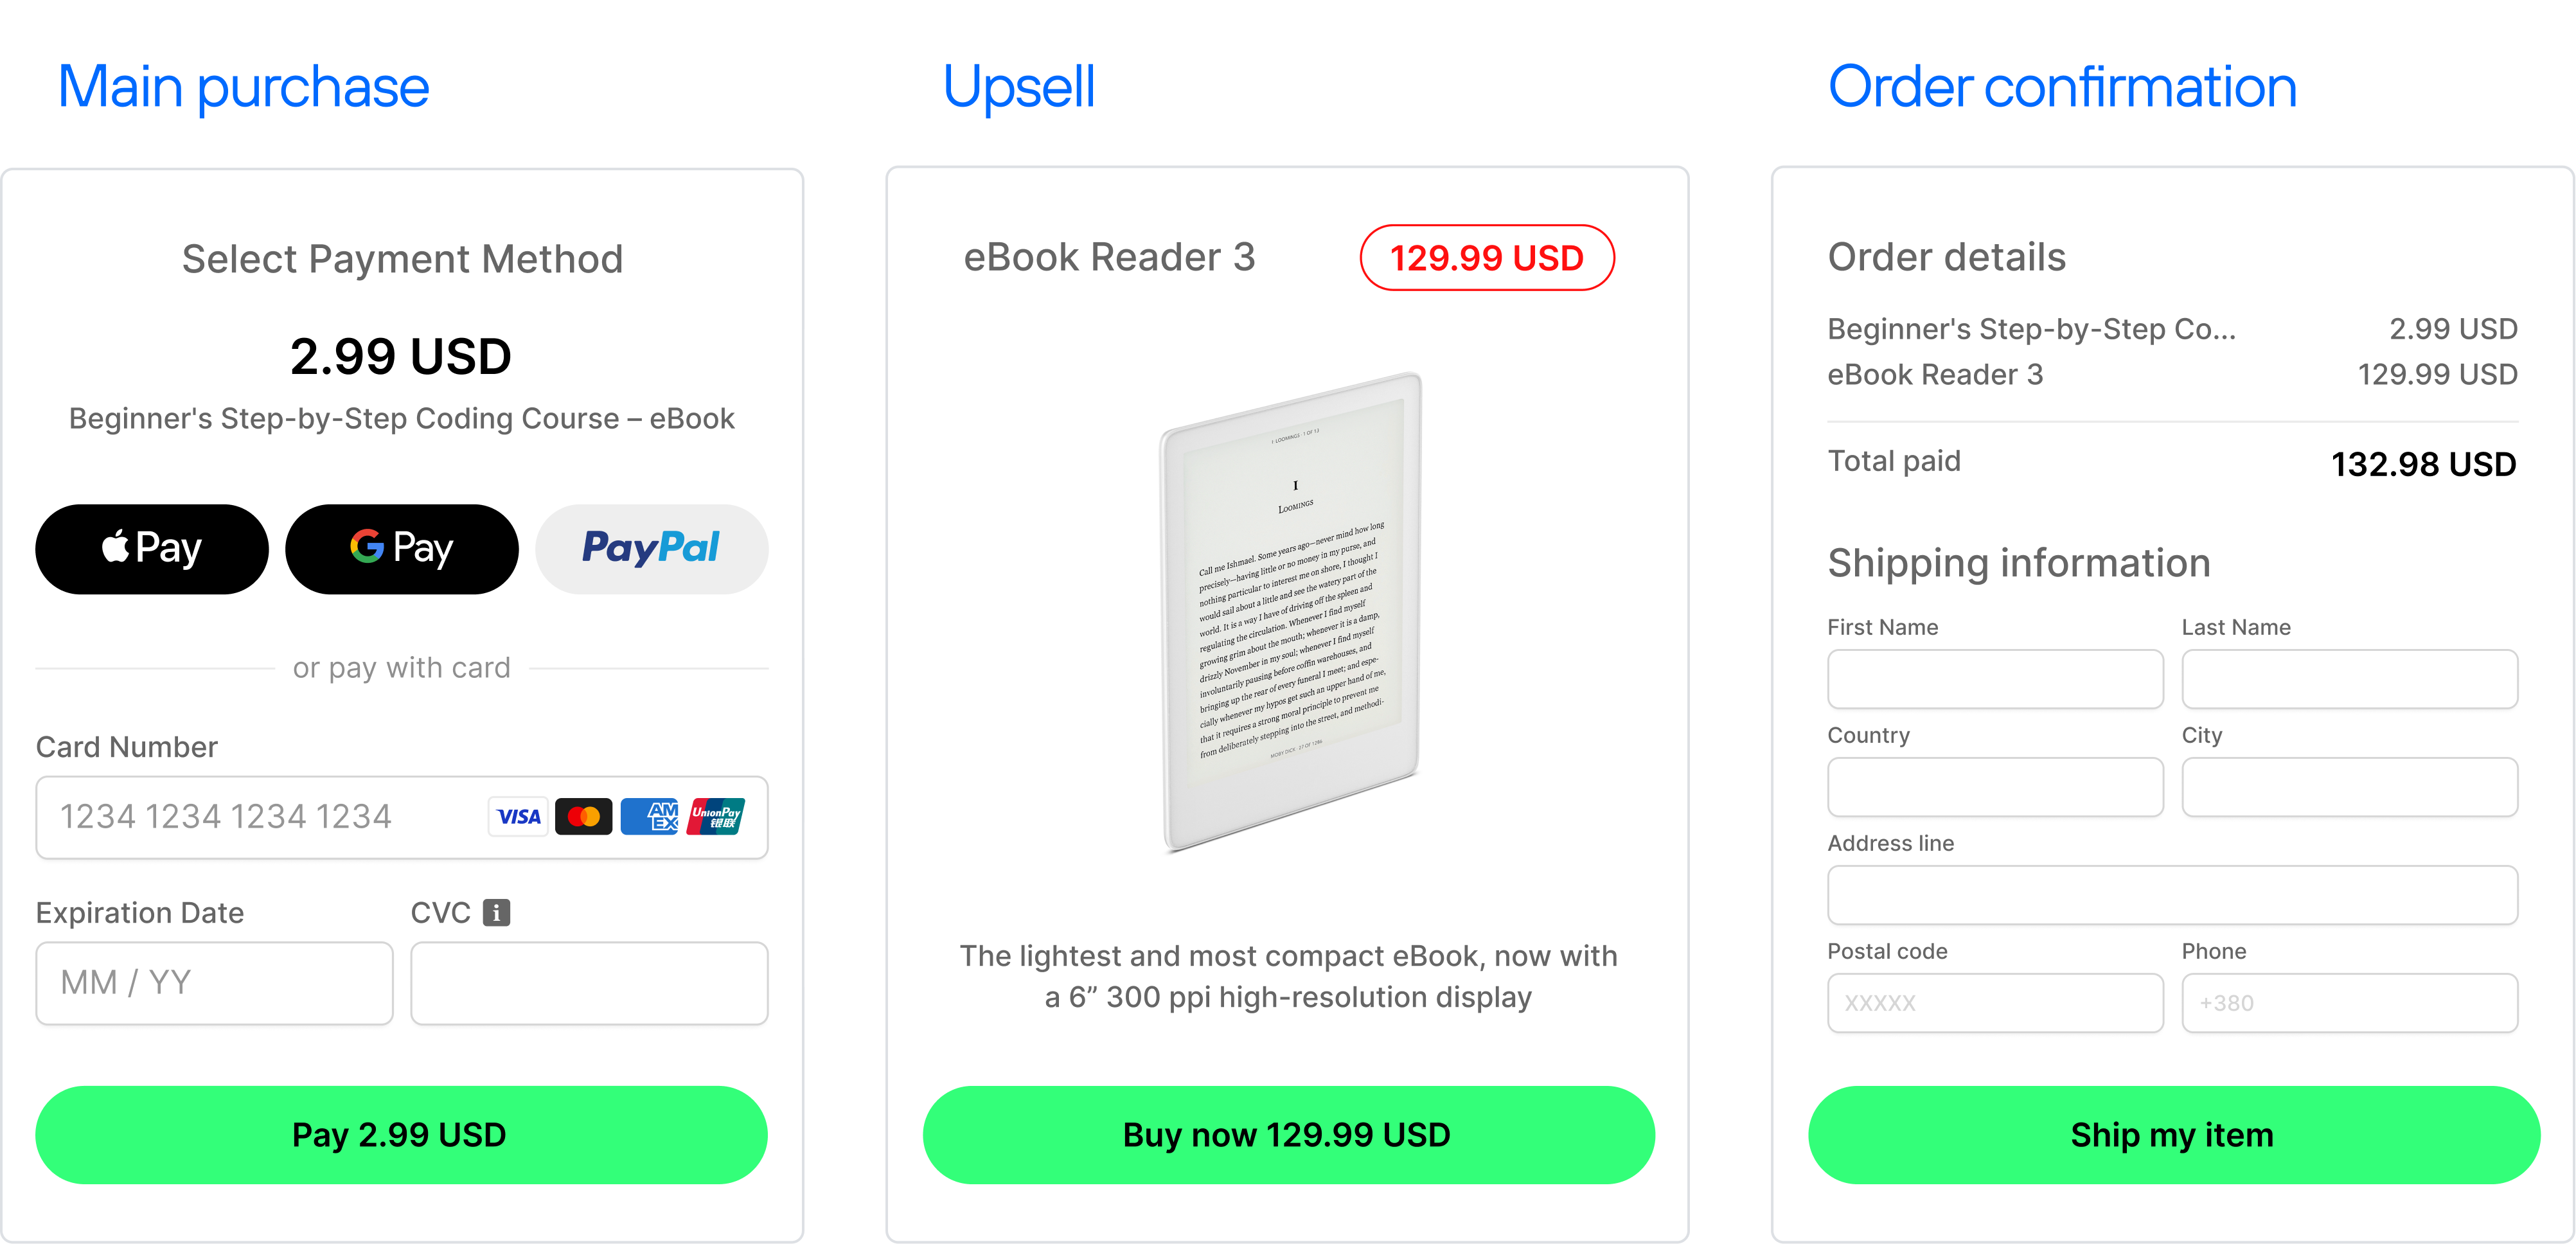
The payment process unfolds as follows:

- The customer enters their card data and completes the payment through Solidgate.
- After the purchase, the customer is offered an upsell of predefined physical goods, such as t-shirts or books.
- The customer agrees to the upsell, you process the payment using a Solidgate token.
- Upon successful payment, the customer is redirected to a predefined permalink. This permalink is passed within the success URL and displays the predefined physical goods and further instructions for the customer.
- The customer places an order for the upsell goods.
- You receive a webhook notification from Shopify informing you about the new order.
- You send a request to mark the order as paid, completing the transaction process.
Integrate
To establish the integration, you need to set up the manual payment method, create cart permalink, and add a webhook endpoint for notifications.
Step 1. Manual payment method
- In Shopify, go to Settings > Payments.
- In the Manual payment methods section, select Add manual payment method.
- Click on Create custom payment method.
- Set a name for the new method, such as Already paid, if you use Solidgate for processing payments.
Step 2. Cart permalink
Create and customize a cart permalink that redirects customers to a page displaying purchased items and instructions.
- Follow the Shopify instructions Reference .
- Customize your link on the Shopify side if required.

Step 3. Webhook endpoint for notifications
Set up a webhook endpoint to receive notifications when an order is created.
- Follow the Shopify instructions Reference .
- Test your webhooks on the Shopify side to make sure that they work as expected.

API configuration
Creating a transaction via API for a customer’s order ensures the order status updates from Pending to Paid via API. Please refer to the Shopify documentation Reference and follow the steps provided below for receiving an access token.
Step 1. Create app
- In Shopify account, click on Settings.
- From the navigation panel, select Apps and sales channels.
- Go to Develop apps.
- Click on Allow custom app development and select Create an app.
- Enter the app name and click on Create app.
Step 2. Configure admin API scopes
- On the app configuration page, select Configure admin API scopes.
- In the list of scopes, find Order editing scope.
- Check the boxes next to this scope and any other scopes you want to access via API.
- Click on Save to apply the selected scopes.
Step 3. Get API credentials
- Navigate to the API credentials tab.
- Select Install app to get an access token.
- Make sure to save the token, as it is shown only once.
Once you complete the steps, you can send the API request to change the order status from Pending to Paid.
Upsell flow example
By employing this flow and adopting Solidgate for payment processing, you can seamlessly integrate Shopify to present upsell opportunities.