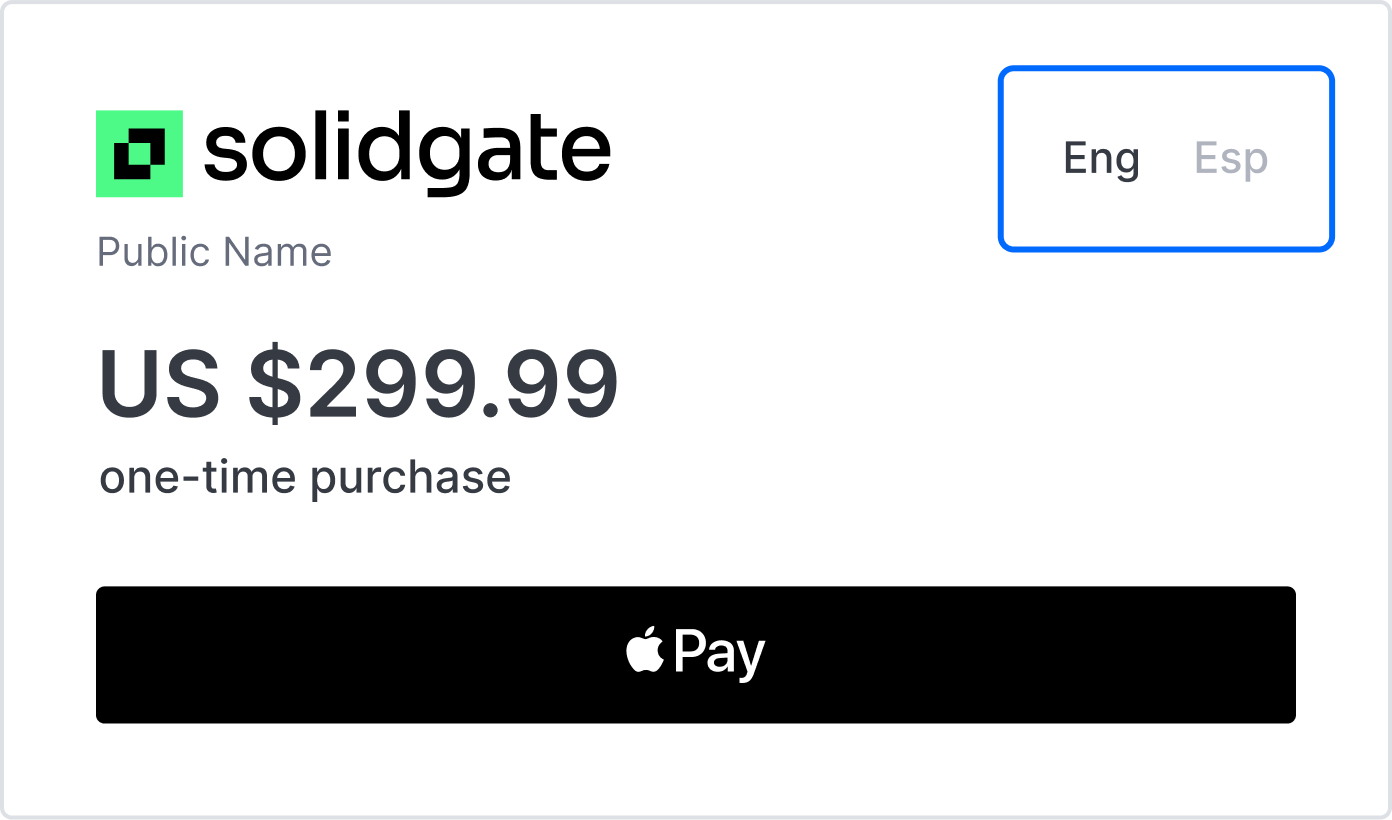
Solidgate Payment Page is more than a hosted checkout, it is a fully brandable microsite that adapts to your customer’s language, device, and channel.
This insights page explains how to localise every screen, surface a one-scan QR code for web or smart-TV checkouts, and choose the frontend or backend flow that balances security and speed.
Supported language
The language of the information on the payment page is determined by:
- language parameter passed
- browser language, if no parameter
In addition, customers can always switch to English.

The language parameter also determines the language of
Discover instant payment receipts for seamless payment confirmations.
email receipts
sent to customers after successful transactions. If no language parameter is specified, email receipts default to English.
| Languages and language tags | |||||||
|---|---|---|---|---|---|---|---|
| Danish | da | Dutch | nl | Czech | cs | English | en |
| Greek | el | Finnish | fi | French | fr | German | de |
| Italian | it | Norwegian | no | Polish | pl | Portuguese | pt |
| Romanian | ro | Slovak | sk | Swedish | sv | Spanish | es |
| Ukrainian | uk | ||||||
QR code
After creating the
Easily create a safe and simple payment page for secure payments.
Payment Page,
the subsequent step involves generating a QR code, allowing customers to easily initiate payments.
This QR code can be generated either on the frontend or backend of your application, depending on your technical requirements, security needs, and the desired customer experience.
Generation on the frontend
Step 1. Include QR code library
Incorporate a QR code generation library into your website or app. Libraries such as qrcode, zxing, and qr-image are available and can be included via CDN links or package managers like npm or yarn.
Step 2. Create QR code container
In your HTML, create a container, such as <div>, where the QR code is displayed. Assign it an identifiable ID or class.
Step 3. Generate QR code
Use the selected library to generate a QR code with the Payment Page link as the data input.
Generation on the backend
Step 1. Choose QR code library
Select a library suitable for your programming language, such as Python or qrcode for Node.js.
Step 2. Install library
Install your chosen QR code library using the relevant package manager.
Step 3. Generate QR code
Write code to generate the QR code using the Payment Page link.